

Seam Rupture Repair
Seam Rupture Repair
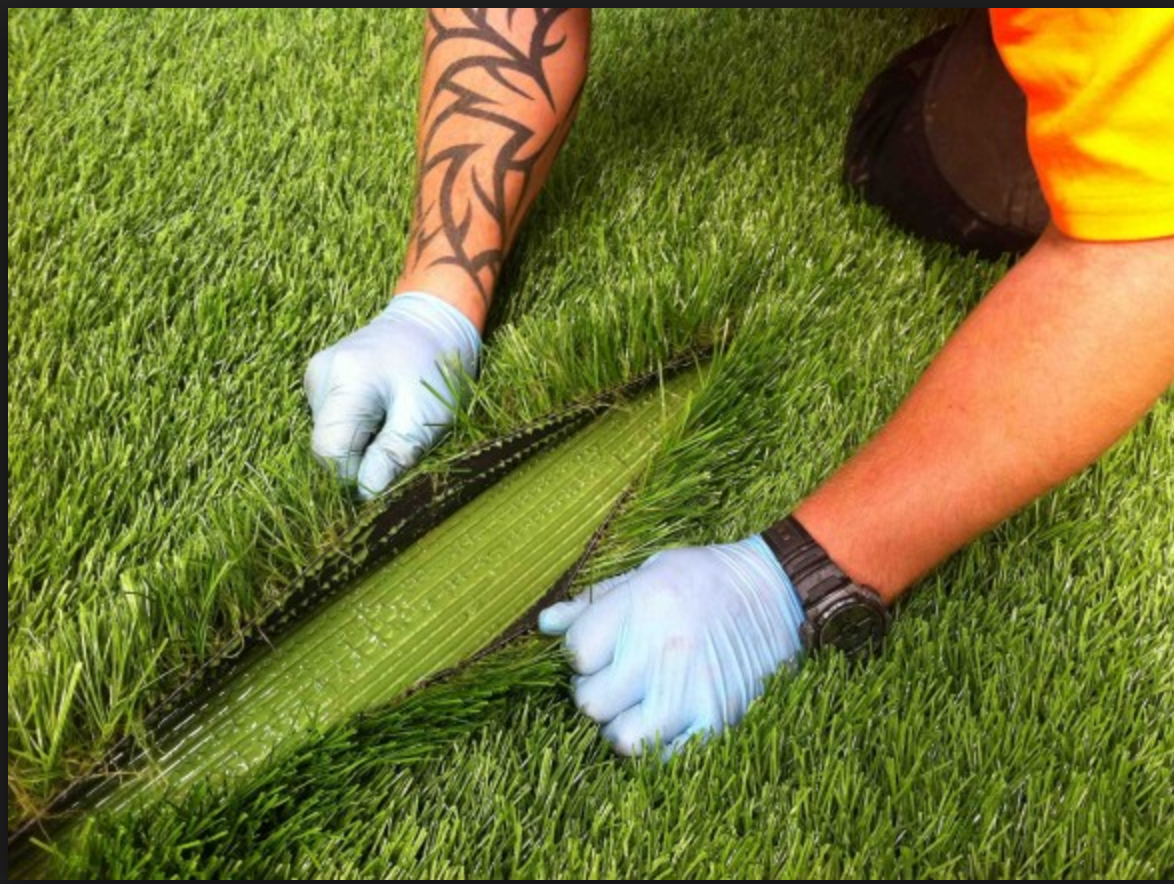
A seam rupture occurs when seams binding synthetic turf together break down, leaving a barren spot. This may or may not be fixable depending how bad the seam rupture is. It’s important not to leave the ruptured seam at bay because not only does it create an unattractive look in your yard, but it could cause harm to someone if they trip and fall over the riff. Repairing ruptured seams requires skill and careful scrutiny.
Let’s break the process down in a few steps:
#1) Remove the infill. Use a Shop-Vac or high-performance blower to remove the infill past the repair to avoid an infill buildup.

#2) Use a carpet kicker. If the seam is pulled apart, then place a carpet kicker two feet away from the seam and kick the two sections together. Make sure to go by the width of the manufacturer’s gauge specifications. Trim the seam so the edges will fit.

#3) Insert temporary nails. Place temporary nails 18 inches from the center of the seam on both sides so the turf will not move during the gluing process.

#4) Apply new seam tape. Replace the old seam tape with a new strip. To do this, place the seam tape in the center of the two sides and secure with staples/nails.

#5) Break out the adhesive. Use an adhesive when securing the two sides of the synthetic turf together.

#6) Secure the sections. Once infill is removed, secure the two sections together. Use the Shop-Vac/blower to clean out excess infill, then place the adhesive 1/8 inch on the seaming tape.
#7) Compress while curing. Use 50 pound bags to compress the adhesive while it’s curing. Check the seam every 15 minutes to ensure the process is running smoothly.

#8) Replace the infill. Replace the infill by hand so the fibers will not be trapped, exposing the seam.


