Helpful Tips for Preventing Wrinkles in Your Artificial Turf
It’s not uncommon to see wrinkles in artificial turf. They occur because of the method and duration the turf is stored in. While wrinkles in turf can be taken out before it’s installed, and you can take steps to keep them from showing up in the future, wrinkles that appear after the turf is installed are usually challenging and expensive to fix.
If you want to prevent wrinkles in your artificial turf, be sure to use the tips and information found here.
Unroll and Warm the Turf
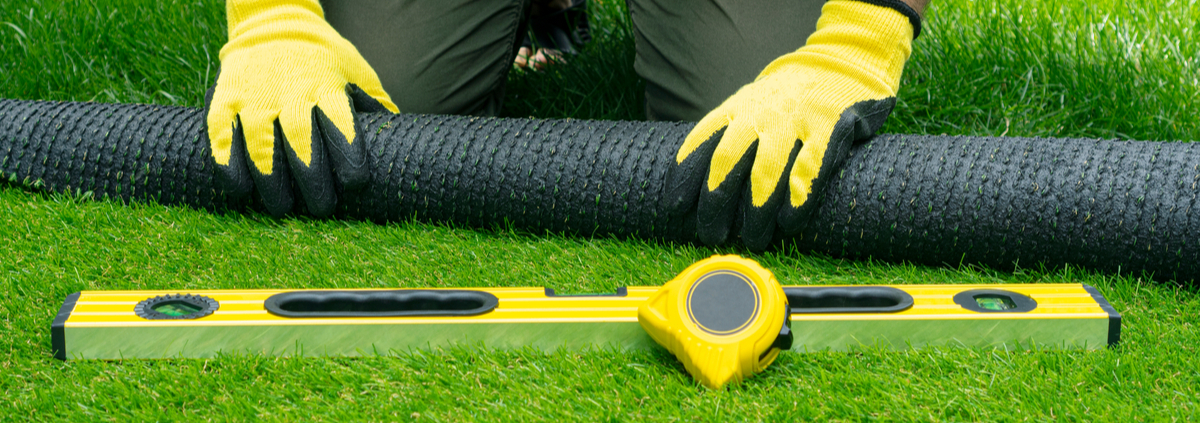
A good first step to take when installing artificial turf is to unroll it in the full sun and leave it there for a minimum of an hour (two hours is even better). The sun’s warmth will help relax the backing material, which can be extremely stiff, helping the blades stand upright, and all creases will be released. By now, most of the wrinkles should be gone.
Remove Organic Debris and Soil
While it may seem annoying, you need to remove the soil. This isn’t a corner you should try to cut. Removing the soil from an installation site is essential if you want the product to last. Organic soil will contract and expand based on the climate and create an unstable footing for the turf. As time passes, a lot of wrinkles will appear.
In most situations, removing three inches of soil will be sufficient. Once removed, replace the excavated soil using a non-expansive base mixture, such as Crushed Miscellaneous Base or Class 2 Roadbase. While you are excavating the soil, be sure that you remove roots and other debris that would begin decomposing as time passes. As the material breaks down, it may create gaps that could create divot-like holes in your yard.
Compact the Subbase Properly
It’s essential that you properly compact the subbase. A good goal to shoot for is between 95% and 98% compaction. To get this result, install the base in layers that are about one to two inches thick. After every subbase layer is installed, moisten it using a hose and a vibratory plate compactor a few times.
Invest in a Carpet Kicker
When installing artificial turf, having a carpet kicker is a must. Like carpet, turf comes in a roll, and the material is compressed. A few extra tugs are needed when it is being installed to make sure it is pulled out and taut.
To use this, orient your turf and rough cut it to fit the general shape of the space. Anchor one side to the perimeter line using a row of five-inch non-galvanized nails that are spaced six inches apart. Once the anchor nails are set, use the carpet kicker to stretch the turf away and out. As you stretch and kick, loose turf will start to bunch. Right in from the bunched-up material, hammer the non-galvanized nail to secure the hold.
If you want to avoid wrinkles in your artificial turf, be sure to keep the tips and information found here in mind.


